
I mentioned in the last post that I’d been playing and I think my play may have paid off.

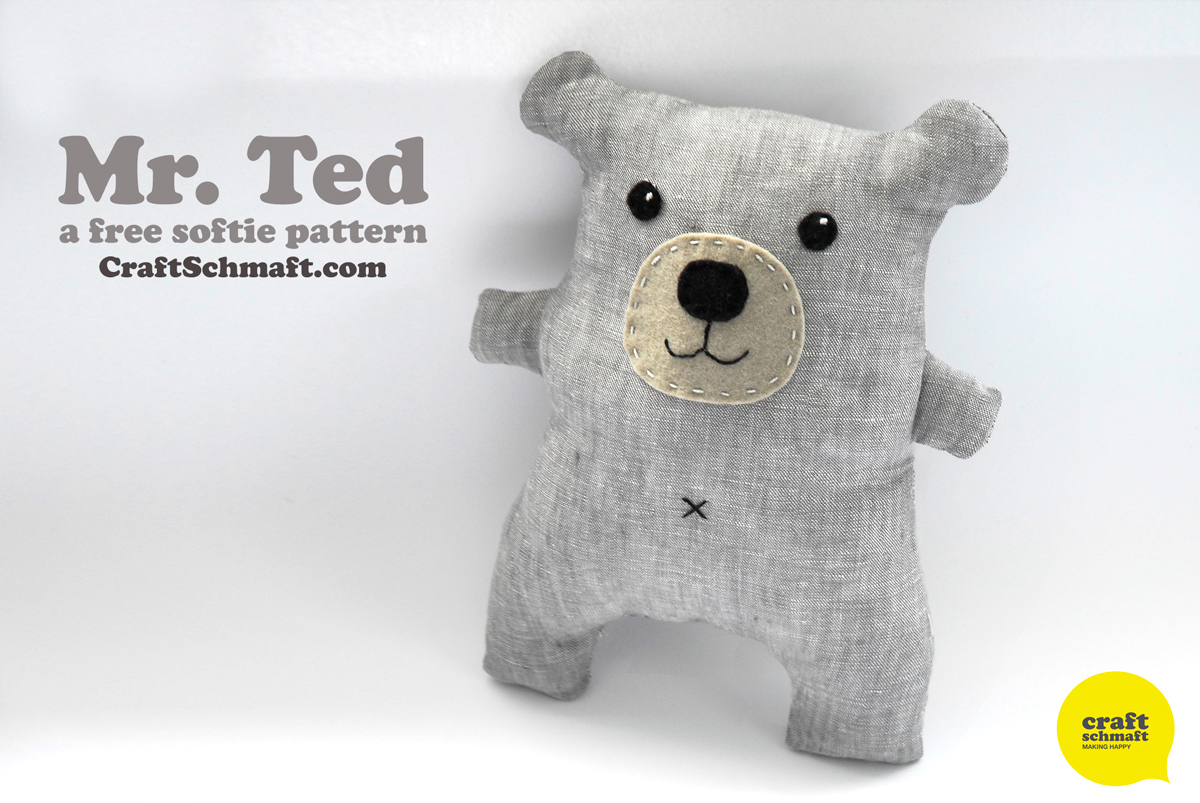
Here’s a free little teddy tutorial and plush pattern that I made for the boys. They loved it. So much, in fact, that Mr. Teds were bestowed the ultimate honor of super hero capes. And here was I thinking that the 5 year old was a bit old for softies! Bah! I made a few of these last week but the grey linen and wool felt I absolutely fell in love with. Perhaps it’s the Southern Hemisphere winter or the need for a tiny break from my usual vibrant colour. Either way, I couldn’t get enough of this combination,
Material List:
- Fabric – 30 x 60cm fabric for body (I used linen)
- Light Brown Felt – 10 x 10cm felt for snout
- Black felt – 10 x 10cm felt for nose and eyes
- Embroidery perle or floss – Black and light grey
- Stuffing – I used polyfibre toy fill
- Matching cotton thread, needle and scissors
PDF Pattern Pieces:


Step 1:
Cut out all of your pieces using the attached Mr Ted Pattern Pieces (click here for PDF pattern). Print this at 100% (no scaling or fit to page) 
Step 2:
Attach the nose to the snout using running stitch. Mark in pencil or chalk your mouth then embroider using backstitch. You can see my YouTube video demonstration of backstitch here. If you really want to cheat (and I’m all for a shortcut!!) you could just use a permanent marker to draw the mouth on.

Step 3:
Pin in place and attach the finished snout to the front of the the Ted using running stitch.
See a video demonstration of Running Stitch here on YouTube.

Step 4:
Stitch the eyes in place and, if desired, place a couple of little embroidery stitches at the top in the light grey floss/perle for eye effect.

Step 5:
Place the front and back pieces of Mr Ted. right sides together. Sew an 8mm (1/4 inch) seam all the way around leaving a 5cm (2 inch) gap at the base for stuffing.

Step 6:
Clip the corners of the curves by cutting out notches like this.

Step 7:
Turn the ted right way out and start stuffing. Get him nice and plup with stuffing all the way up in the ears, arms and legs, massaging to smooth out any lumps and bumps. 
Step 8:
Hand stitch the stuffing opening closed using needle and regular thread.

You’re done! Hand it to the nearest kiddlet, keep it to snuggle up to yourself or go all out for a Random Act of Craft and drop Mr Ted for the fantastic Toy Society.
Happy Crafting!

So sweet!
So cute!
Awww thank you!
I would love to try this bear for my kids. Thank you for sharing.
Kaye
http://myeverydaystruggles.wordpress.com
You’re welcome Kaye, enjoy!
great tutorial
Thank you, Happy Crafting!
beautiful!!!
thank you, xxxx Ale
You’re welcome Ale, he’s a firm favourite around here!
So cute.. Thank you! Paola – Italy
I love that!!!
So simple yet so cute thank you for sharing him with us. Also thanks for the Toy Society link that’s a fantastic idea.
Reblogged this on Being mum is just and commented:
I really like this idea for building up Christmas Presents for my friends little ones….can chill in the garden, glass of wine, sewing kit out……Christmas prepared! Thanks for the tutorial xx
Thank you for sharing your pattern. Its a wonderful and very cute teddy.
Super cute and looks like a quick sew!
Oh it is Lisa, I’m whipping up a few for our school fair day coming up!
Very nice! At first, I thought the teddy looked weird but it has a certain charm that made it look cuter the longer I stare at it (enticing indeed). And thank you so much for sharing your step by step tutorial. I’ll try this soon!
I really appreciate people who share their knowledge, now that is true wisdom! Keep it up!
miumiu 財布 人気
[…] of the knit-in designs. Then, since the McCall’s pattern was faceless, I used Claire’s cute (and FREE!) softie pattern on Craft Schmaft to figure out the snout. After stitching and stuffing, the squeezable, huggable […]
Thank you Claire!!!
I love this little quirky teddy so much I just made one myself. BUT I learned that using an old merino wool sweater isn’t the best idea – my little one is a bit out of shape but soooo soft and cozy and cuddly. I guess next time I’ll try a different fabric, something non-stretchy.
Oh he must be so soft though! You could try washing an old sweater in hot water first to felt it up a bit and then it would stay in shape – just in case you had more sweaters lying around 🙂
thxs. love the bear!!!!
You’re very welcome!
[…] Mr. Ted Tutorial […]
[…] from the same pattern I used before (McCall’s Crafts 703) and the smaller one is from Claire’s cute (and FREE!) Mr. Ted pattern on Craft Schmaft. After a bit of embroidery and button, ric-rac, and […]
Reblogged this on Down My Front and commented:
Today I am reblogging this fabulous idea for a teddy. i am going to have to have a go at one of these. thanks for the inspiration, this is the first post i have re-blogged not sure what the etiquette is!